
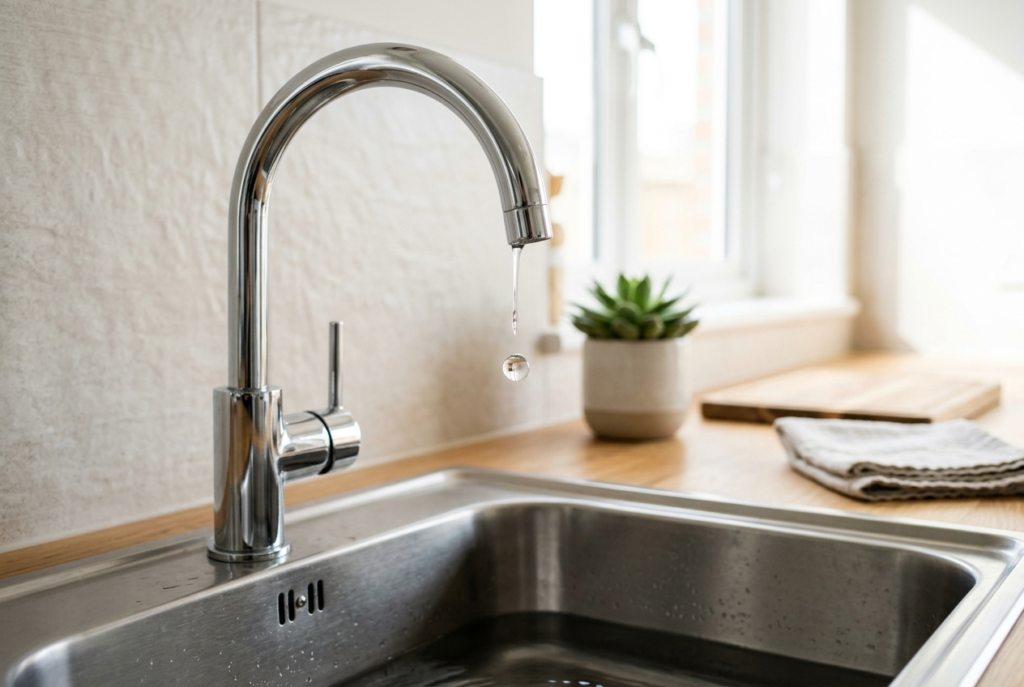
A dripping tap rarely feels urgent. It is easy to live with the sound for weeks, tell yourself you will deal with it at the weekend, and then forget about it entirely until the water bill arrives.
The good news is that most dripping taps have a simple cause, and in many cases you can stop the drip yourself with basic tools. This guide walks through why taps drip, how to fix the most common causes, and when it makes more sense to call a professional plumber.
Why a Dripping Tap Is Worth Fixing Straight Away
A tap dripping once per second wastes around 30 litres of water a day. Over a year, that adds up to more than 10,000 litres from a single tap, which is a real cost if your property is on a water meter.
Left unaddressed, a drip can also cause staining around the sink, wear down the tap body faster, and put unnecessary strain on the fittings underneath. Fixing it early is almost always cheaper and easier than waiting.
What Causes a Tap to Drip
Most taps drip because a small internal component has worn out and can no longer form a tight seal. The exact part depends on the type of tap you have, but the usual culprits are:
- A worn washer – the rubber seal that presses against the valve seat in traditional taps, wearing thin with age and repeated use
- A damaged O-ring – a small rubber ring that seals the spout or the tap spindle, often the cause of leaks around the base or handle
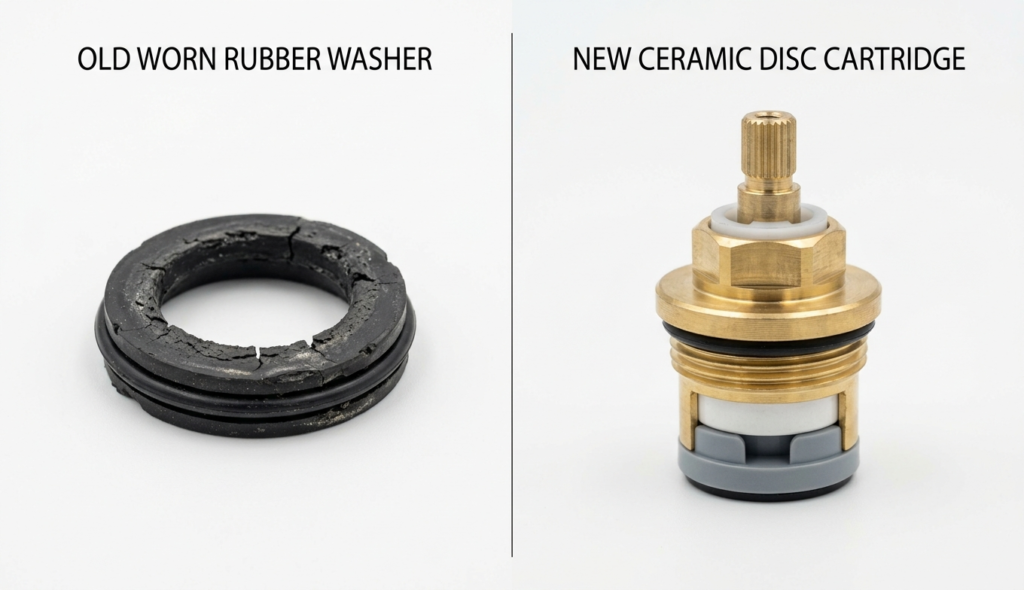
- A cracked ceramic disc or cartridge – found in modern mixer taps, these control flow and temperature and can chip or wear out over time
- A worn valve seat – the surface the washer presses against, which can pit or corrode, especially in hard water areas
- Limescale build-up – common in hard water regions, limescale can stop internal parts from closing fully and cause both drips and stiff handles
Knowing which type of tap you have makes it much easier to identify which of these is responsible.
Know Your Tap Type Before You Start
Not all taps work the same way inside, so the repair depends on the design.
Pillar taps. These are the traditional separate hot and cold taps found in many older bathrooms and kitchens. They use a washer and valve seat mechanism, and the fix usually involves replacing the washer.
Mixer taps. The single-lever or twin-handle taps common in modern kitchens and bathrooms use a ceramic disc cartridge rather than a washer. When these fail, the whole cartridge typically needs replacing.
Ball valve taps. Found on some older mixer taps, these use a rotating ball to control water flow and temperature, sealed by small rubber springs and seats that wear out over time.
If you are not sure which type you have, look at how the tap moves. A tap that you turn several times to shut off is likely a traditional washer tap. A tap that shuts off with a quarter-turn or a single lever is almost certainly a ceramic disc cartridge tap.
Tools You Will Need
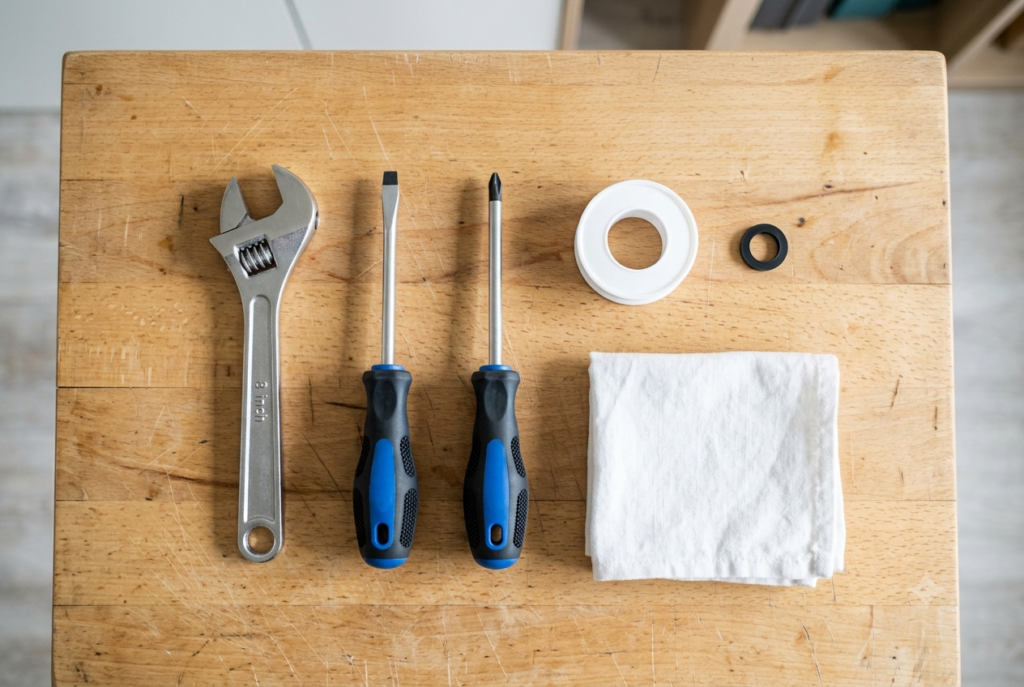
Most dripping tap repairs can be done with tools already in a typical household toolbox:
- Adjustable spanner or wrench
- Flat-head and Phillips screwdrivers
- Replacement washer, O-ring, or cartridge (matched to your tap brand and model)
- PTFE tape
- A cloth and a small container to catch drips
- Plumber’s grease (optional, but useful for reassembly)
Taking the old part to a hardware shop or plumbers’ merchant before buying a replacement is the safest way to make sure you get the right size.
Step 1: Turn Off the Water Supply
Before touching anything, shut off the water to the tap. Most taps have an isolation valve underneath, in the cabinet or cupboard below the sink. Turn the flat-head slot a quarter-turn clockwise to close it.
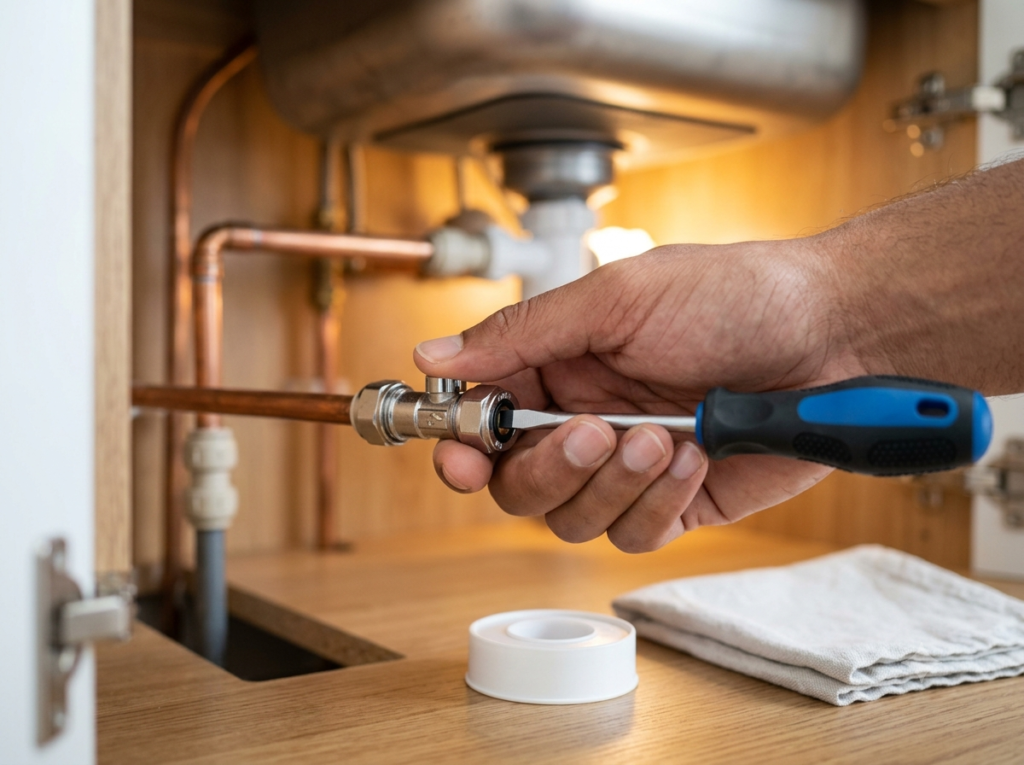
If there is no isolation valve, you will need to turn off the property’s main stopcock, which is usually located under the kitchen sink or near the water meter. Once the supply is off, turn the tap on to release any remaining water and pressure in the pipe.
Step 2: Remove the Tap Handle
Most tap handles have a small cover cap on top, often marked with a hot or cold indicator, that pops or unscrews off. Underneath is a retaining screw that holds the handle in place.
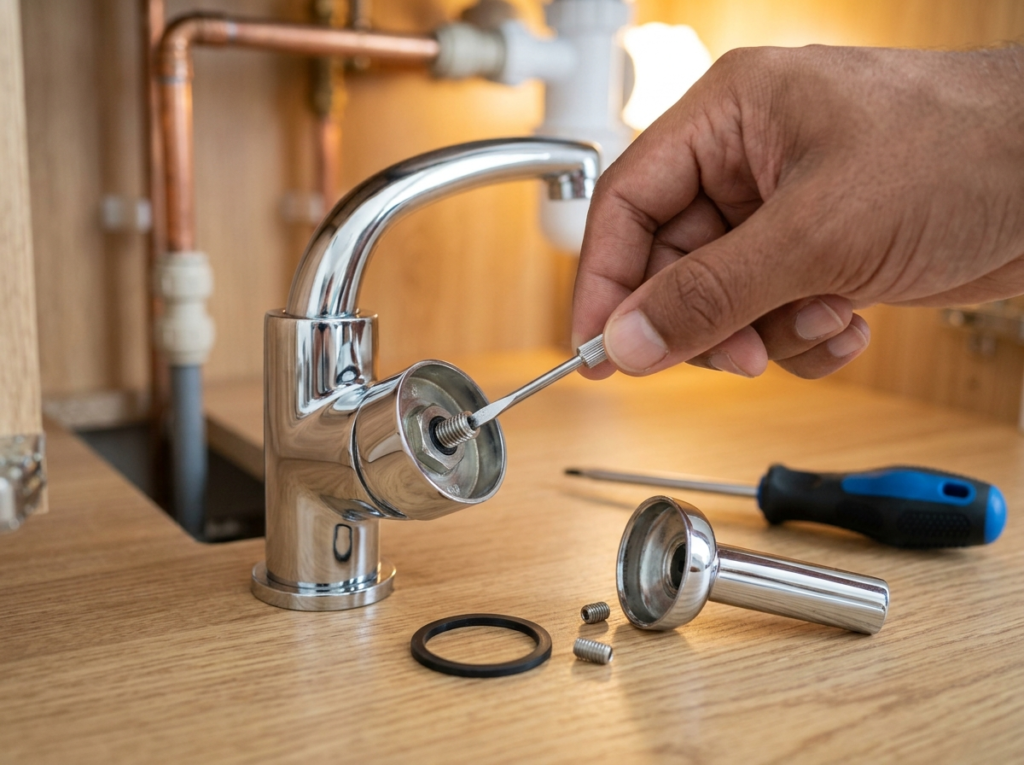
Remove the screw and lift the handle away. Keep the screw somewhere safe, as it is easy to lose during a repair.
Step 3: Access and Inspect the Internal Mechanism
With the handle off, you will see either a headgear nut (traditional taps) or a cartridge retaining nut (modern mixer taps). Use an adjustable spanner to loosen and remove this, taking care not to scratch the tap body.
Lift out the headgear or cartridge and examine it closely. A worn washer will look flattened, cracked, or perished. A cartridge may show visible wear, mineral build-up, or a chip in the ceramic disc.
Step 4: Replace the Faulty Part
For a washer tap: unscrew the small screw holding the old washer to the base of the headgear, fit the new washer of the correct size, and tighten the screw back down.
For a cartridge tap: lift the old cartridge straight out and press the new one into place, matching the alignment notches exactly. Forcing a cartridge in at the wrong angle can crack it immediately.
While everything is apart, it is worth checking the valve seat for pitting or limescale. A light clean with a valve seat dressing tool or a soft cloth can help the new washer seal properly.
Step 5: Reassemble and Test
Put the headgear or cartridge back in place and tighten the retaining nut by hand before finishing with a spanner, taking care not to overtighten. Refit the handle and screw, then click the cover cap back on.
Turn the isolation valve back on slowly and test the tap through its full range, checking hot, cold, and every flow setting. Watch the base and spout closely for a minute or two to confirm the drip has actually stopped.
Garden and Outdoor Taps: A Few Extra Considerations
Outdoor taps fail for slightly different reasons than indoor ones, mainly because they are exposed to the weather. A dripping garden tap is often caused by the same worn washer issue as an indoor tap, but frost damage is a common additional factor.
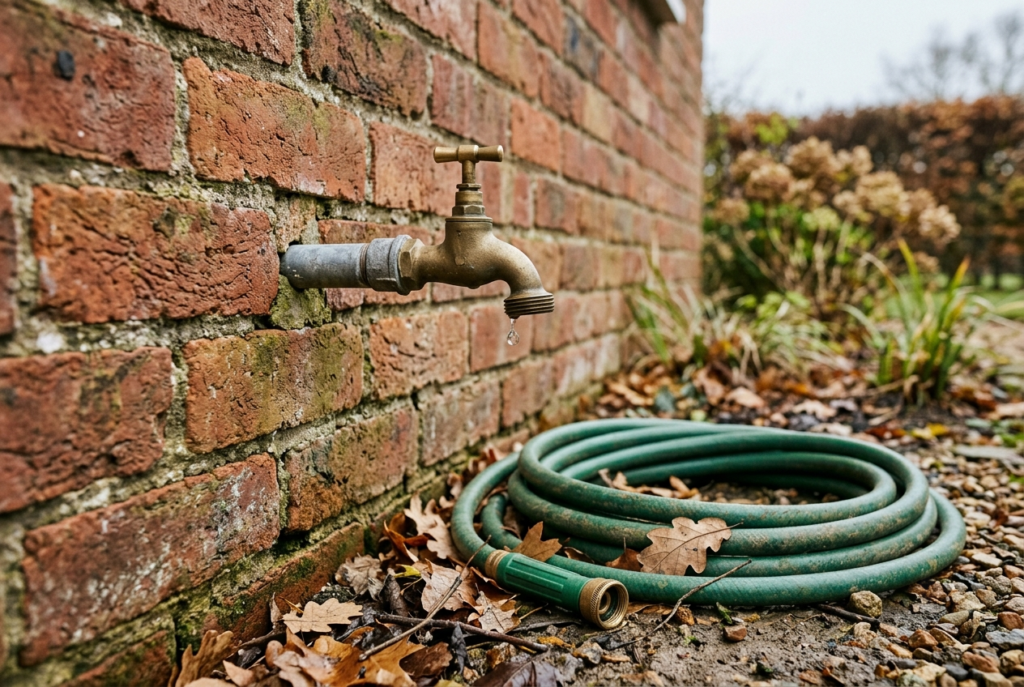
If an outdoor tap was left connected over winter without being drained, water trapped in the pipe can freeze, expand, and crack the tap body or the pipework behind it. This often only becomes obvious as a drip or leak once the weather warms up again.
Before repairing a dripping garden tap, check the tap body itself for hairline cracks, not just the washer. If the body has split, no washer replacement will stop the leak, and the tap will need replacing along with a frost-protected isolation valve fitted inside the property.
When a Dripping Tap Points to a Bigger Problem
Sometimes a drip is not just a worn washer. If the tap continues to drip after a new washer or cartridge has been fitted, or if you notice damp patches, reduced water pressure across the whole property, or unusually high water bills, the issue may run deeper than the tap itself.
In these cases, it is worth having a professional check for hidden pipe leaks or wider water pressure issues. A tap that will not shut off completely, particularly on the mains supply, should be treated as more urgent and may need emergency plumbing support.
Maintenance Tips to Prevent Future Drips
A few simple habits can extend the life of your taps considerably.
- Avoid overtightening taps when turning them off, as this puts extra strain on the washer and valve seat
- Clean the tap aerator every few months to prevent limescale and debris build-up, especially in hard water areas
- Drain outdoor taps before winter and fit an insulated cover if the tap is not protected by a frost-safe isolation valve
- Address a small drip as soon as you notice it, since a worn washer rarely improves on its own
- Consider an annual maintenance contract if you manage multiple properties, so small issues like this get caught early
When to Call a Professional Plumber
A washer or cartridge replacement is a manageable DIY job for most people with basic tools and a bit of patience. However, it is worth calling a qualified plumber if:
- The tap continues to drip after you have replaced the washer or cartridge
- You cannot identify the tap brand or find a matching replacement part
- The valve seat is corroded or pitted beyond a simple clean
- The leak is coming from behind the wall, under the floor, or from the tap body itself rather than the handle
- You are not confident isolating the water supply safely
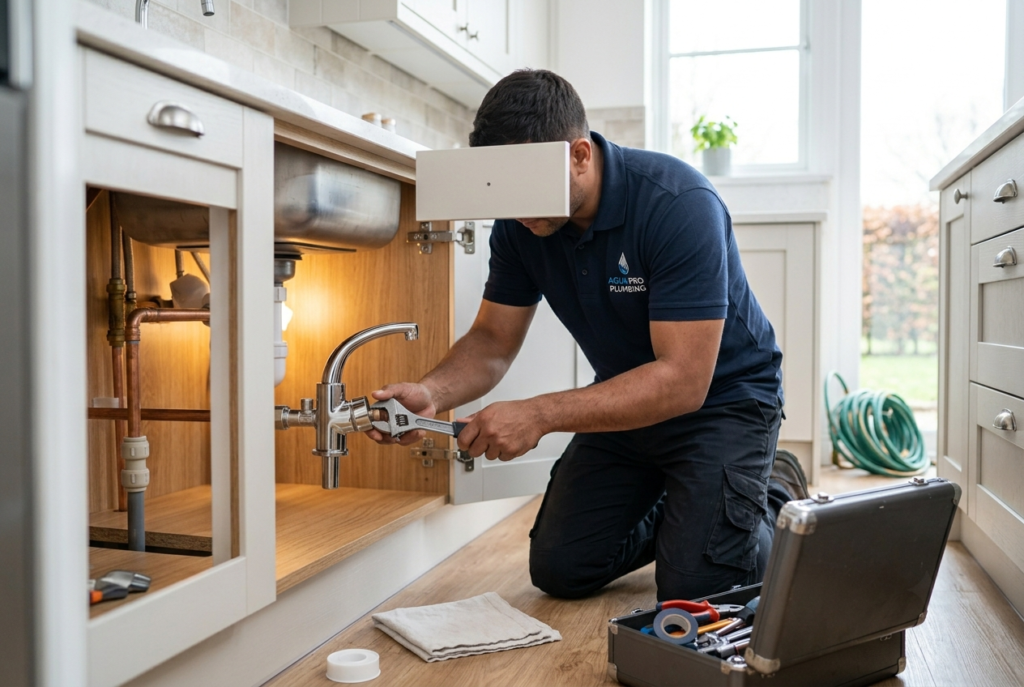
Catalyst Home Services provides same-day tap and faucet repair across London, with engineers who carry the most commonly needed washers, O-rings, and cartridges on the van. If the problem turns out to be a hidden leak rather than the tap itself, our leak detection and repair team can trace and fix it properly.
Still Dripping? Get It Sorted Today
If you have tried the steps above and the tap is still dripping, or you would simply rather have it handled by a professional, Catalyst Home Services offers same-day tap repairs across London. Call +44 7400 265421 or book a plumber online and we will get it fixed properly, with a clear quote before any work begins.