
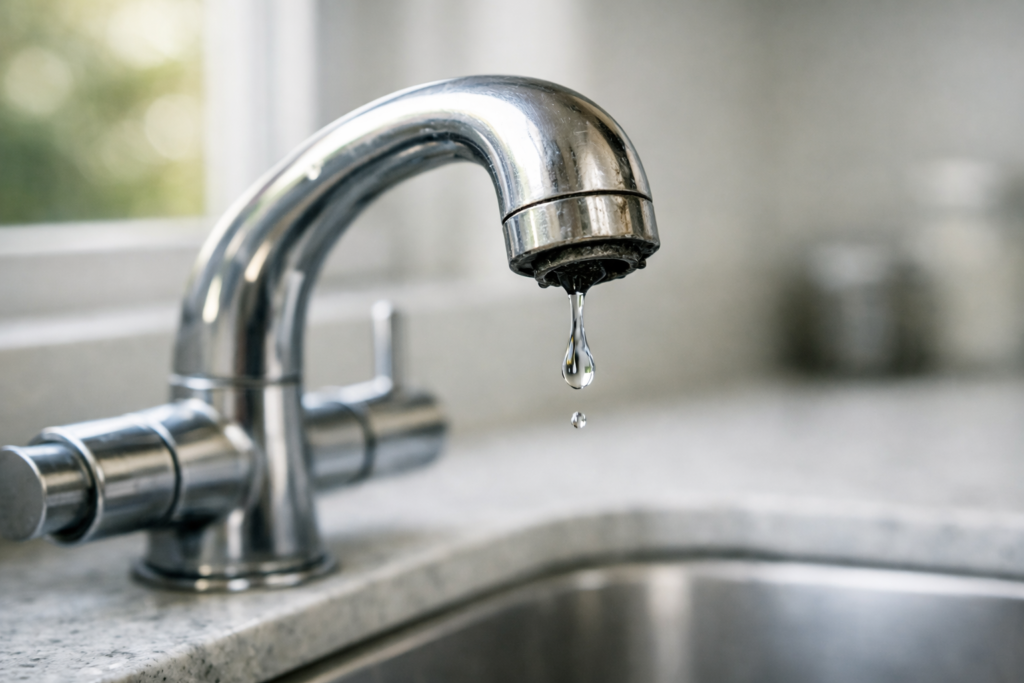
A dripping mixer tap is one of the most common plumbing problems in UK homes. It seems small at first, just an odd drip here and there, but left alone it wastes water, pushes up your bills, and can damage the finish around your sink or bath over time.
The good news is that most leaking mixer taps can be fixed at home with a few basic tools and about half an hour of your time. This guide walks you through why mixer taps leak, what you’ll need, and exactly how to stop the drip for good.
If the leak turns out to be more stubborn than expected, our Tap & Faucet Repair team in London is on hand to sort it properly, the same day in most cases.
Why a Dripping Mixer Tap Matters More Than You Think
A tap that drips once every few seconds can waste over 5,000 litres of water a year. That’s money down the drain, literally, and it adds unnecessary strain on your household plumbing.
Left unchecked, a leaking mixer tap can also:
- Stain your sink, bath, or worktop with limescale and mineral deposits
- Encourage mould around the base of the tap
- Wear down the internal cartridge further, turning a simple fix into a full tap replacement
- Point to a wider issue, such as high water pressure, that may affect other fittings in your home
If you notice leaks in more than one place, it’s worth having a proper leak detection and repair check, since hidden leaks behind walls or under floors can cause much bigger problems than a dripping tap.
Common Types of Mixer Taps
Before you start any repair, it helps to know which type of mixer tap you have, since this affects how you take it apart.
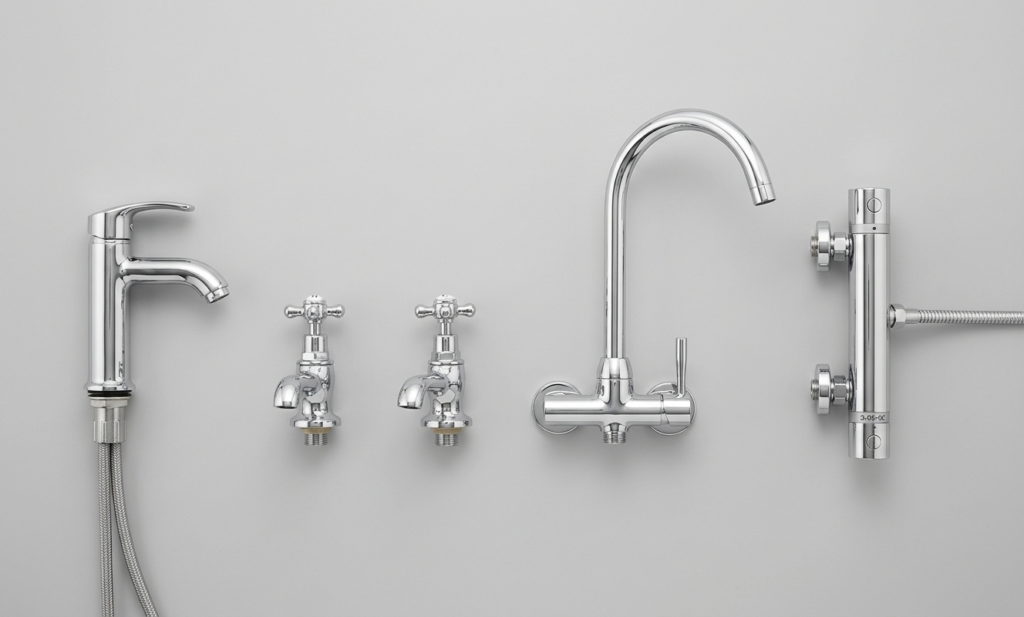
Monobloc mixer taps are the most common in modern UK kitchens and bathrooms. They have a single body with one lever or two handles controlling both hot and cold water through one spout.
Pillar mixer taps have separate hot and cold pillars that meet at a shared spout, often seen in older bathrooms.
Wall-mounted mixer taps are fitted directly into the wall rather than the sink or bath, common in more contemporary bathroom designs.
Thermostatic mixer taps control water temperature automatically and are mostly found on showers, though some baths use them too.
Most modern mixer taps, whatever their style, rely on a ceramic disc cartridge rather than the old rubber washer system. This matters because the fix is usually about replacing a cartridge, not a washer.
What You’ll Need
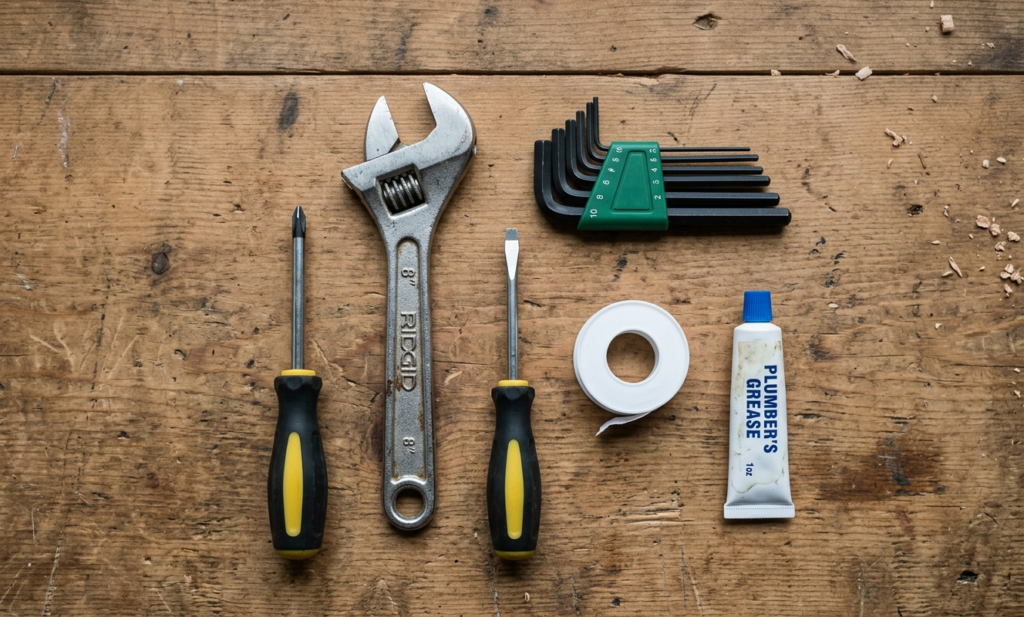
Before you begin, gather the following:
- Adjustable spanner or basin wrench
- Flathead and Phillips screwdrivers
- Allen key (many mixer tap handles use a small grub screw)
- Replacement cartridge or washer, matched to your tap’s make and model
- PTFE tape
- A cloth and a small container to catch drips
- Plumber’s grease (optional, but helps reassembly)
Most hardware shops or plumbing merchants can match a cartridge if you bring the old one along, or you can usually find the model number stamped on the tap body or in the original packaging.
How to Fix a Leaking Mixer Tap: Step-by-Step
Step 1: Turn Off the Water Supply
Locate the isolation valves under the sink or basin and turn them clockwise to shut off both hot and cold supplies. If your tap doesn’t have isolation valves, you’ll need to turn off the main stopcock instead.
Once the supply is off, open the tap fully to release any remaining water and pressure in the pipes.
Step 2: Protect the Sink or Bath
Place a towel or cloth in the basin to protect the surface from scratches and to catch any small parts that might drop during the repair.
Step 3: Remove the Tap Handle
Most mixer taps have a small cap on top of the handle, either plastic or metal, hiding a screw underneath. Prise this off carefully with a flathead screwdriver, then undo the screw to lift the handle away.
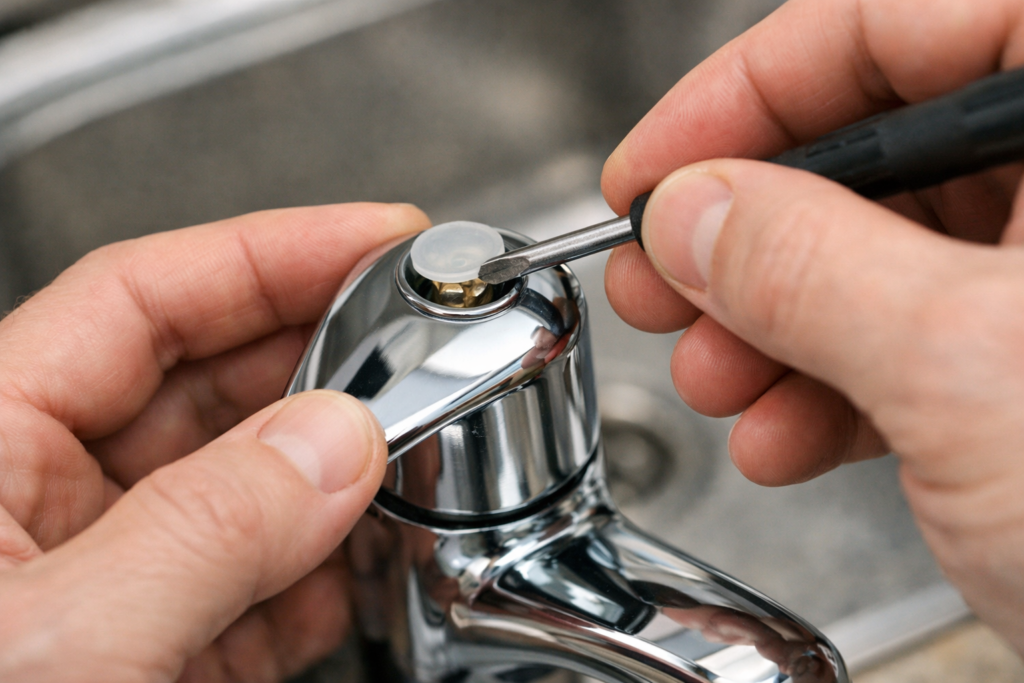
Some handles are secured with a side grub screw instead, which needs an Allen key.
Step 4: Access and Remove the Cartridge
With the handle off, you’ll see a retaining nut holding the cartridge in place. Use an adjustable spanner to loosen this, then lift the old cartridge straight out. Take note of its orientation, since the new one needs to sit the same way.
If your tap uses an older washer system rather than a cartridge, you’ll instead unscrew the headgear and replace the rubber washer at the base of the valve.
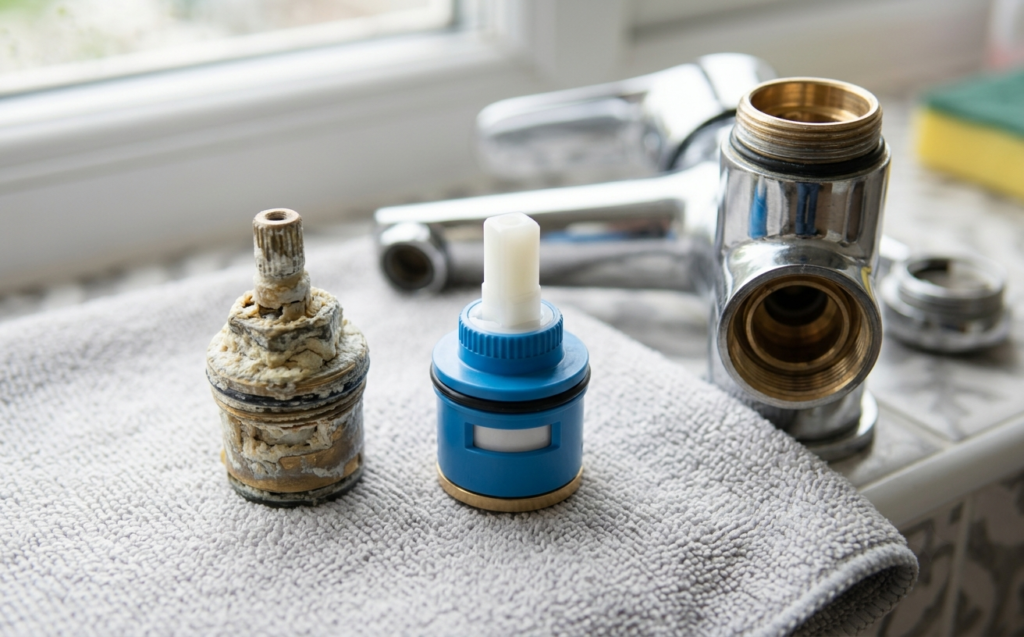
Step 5: Fit the New Cartridge or Washer
Clean the housing thoroughly before fitting the replacement, since limescale build-up is a common reason new cartridges still leak. A light coat of plumber’s grease on the seal helps it sit properly and extends its life.
Push the new cartridge in firmly, making sure it’s aligned the same way as the old one, then tighten the retaining nut by hand before finishing with a spanner. Avoid overtightening, as this can crack the cartridge housing.
Step 6: Reassemble the Tap
Refit the handle, tighten the retaining screw, and snap the cap back into place.
Step 7: Turn the Water Back On and Test
Slowly turn the isolation valves back on and check for leaks at the base of the tap and around the handle. Run the tap for a minute on both hot and cold settings to make sure the drip has stopped and the water flows smoothly.
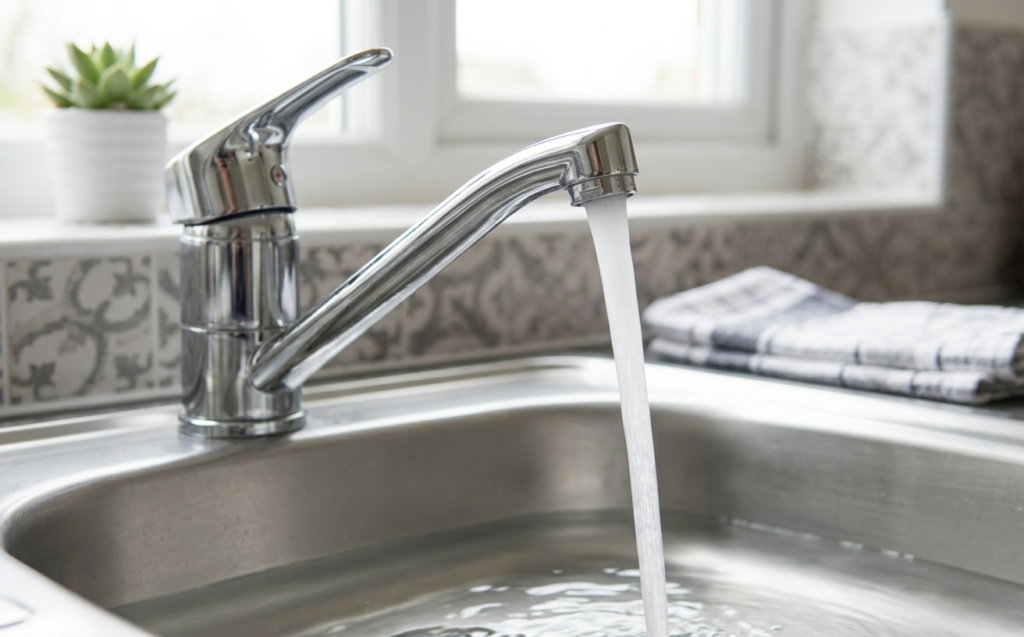
If water still seeps out after this, the leak may be coming from somewhere other than the cartridge.
Other Common Causes of a Leaking Mixer Tap
Sometimes the drip isn’t from the cartridge at all. A few other likely culprits include:
Worn O-rings around the spout base, which show up as water pooling underneath the tap rather than dripping from the spout itself.
A loose or damaged tap connector hose, common on kitchen mixer taps with a pull-out spray function.
Corroded valve seats, more common in older properties and usually needing a full tap replacement rather than a repair.
High mains water pressure, which puts extra strain on seals and cartridges and can cause repeat leaks even after a fix. If this sounds familiar, our team can check your water pressure and recommend a long-term solution.
When to Call a Professional Plumber
A DIY fix is usually enough for a straightforward drip, but it’s worth calling in a professional if:
- The leak continues after replacing the cartridge or washer
- Water is leaking from underneath the sink or the pipework itself, not just the tap
- Your tap is old, and parts are no longer available
- You’re not confident shutting off the water supply or working with isolation valves
- The tap is part of a larger bathroom or kitchen renovation
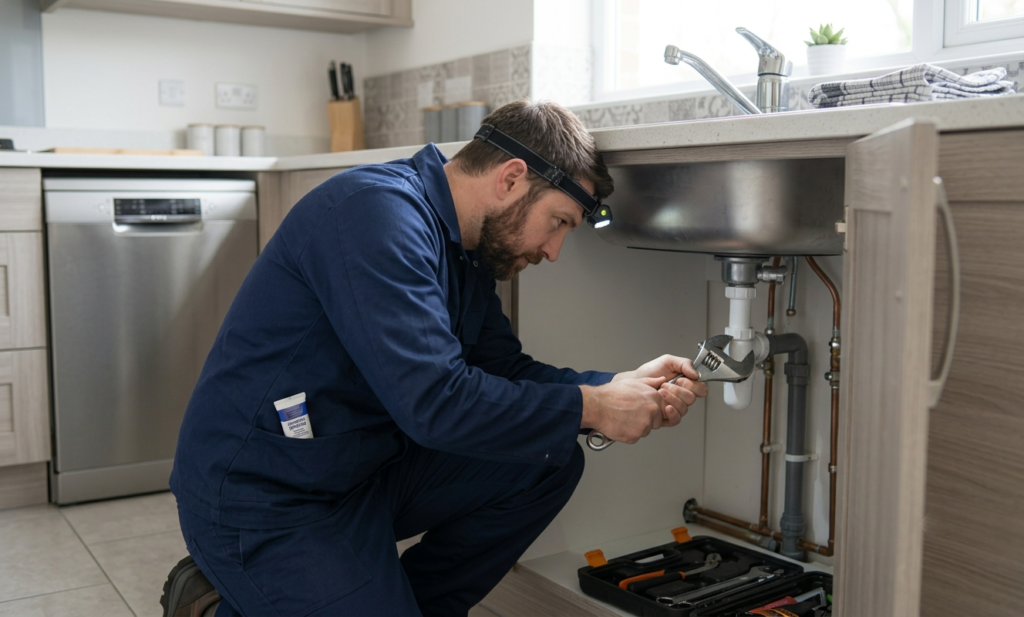
Our Tap & Faucet Repair engineers carry a wide range of cartridges and fittings for both modern and older taps, so most repairs are completed in a single visit. If the problem is more urgent, our 24/7 emergency plumbing line is available around the clock across London.
Preventing Future Leaks
A little maintenance goes a long way in keeping mixer taps leak-free:
- Wipe down taps regularly to prevent limescale build-up, especially in hard water areas
- Avoid forcing handles shut too tightly, as this wears seals down faster
- Fit a water softener if you’re in a hard water region, which reduces strain on internal parts
- Have taps checked as part of an annual plumbing service, particularly in older properties
If you’re planning a wider bathroom or kitchen update, it’s often worth replacing ageing taps altogether rather than repeatedly repairing them. Our bathroom fitting team can advise on tap styles that suit your space and water pressure.
Get Help From a Trusted London Plumber
A leaking mixer tap is one of the easier plumbing jobs to tackle yourself, but not every leak is as simple as it looks. If you’ve followed these steps and the drip is still there, or you’d rather leave it to someone who does this every day, Catalyst Home Services is here to help.
Our plumbers cover homes across North London and the surrounding boroughs, with transparent pricing and no hidden charges. Book a plumber today, or get in touch to ask a question first.
For more plumbing guides and maintenance tips, visit our blog.