
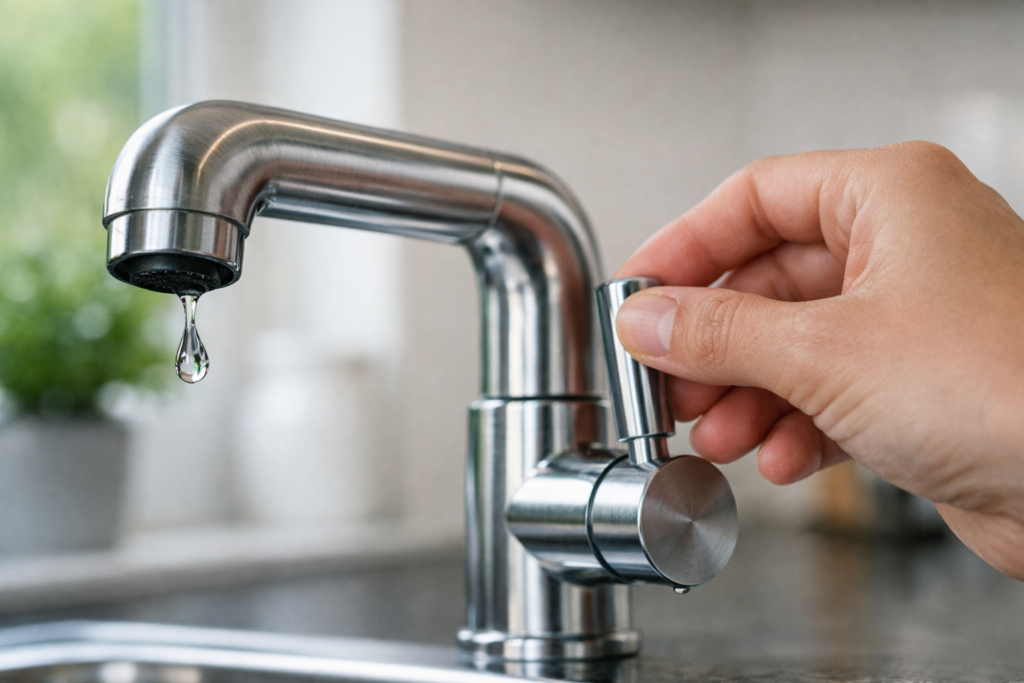
A dripping tap is more than just an annoying sound at 2am. It wastes water, pushes up your bills, and can eventually damage the fixture itself. The good news is that most leaks are caused by a handful of common faults, and many homeowners can fix a simple drip with basic tools in under half an hour. In this guide, our plumbing team at Catalyst Home Services walks you through exactly how to stop a leaking tap, step by step, and explains when it’s time to call in a professional.
Why Is My Tap Leaking?
Before picking up a spanner, it helps to understand what’s actually gone wrong. Most household taps leak for one of the following reasons:
- Worn or perished rubber washer – the most common cause of a dripping tap over time
- Damaged O-ring – often the culprit if water is leaking from around the tap handle rather than the spout
- Loose or corroded valve seat – can cause dripping even after a washer has been replaced
- Worn cartridge – common in mixer taps and modern lever-style taps
- High water pressure – can strain internal seals and cause premature leaks
If your leak is linked to unusually strong or fluctuating flow, it may be worth reading about water pressure issues and how they affect your plumbing system.
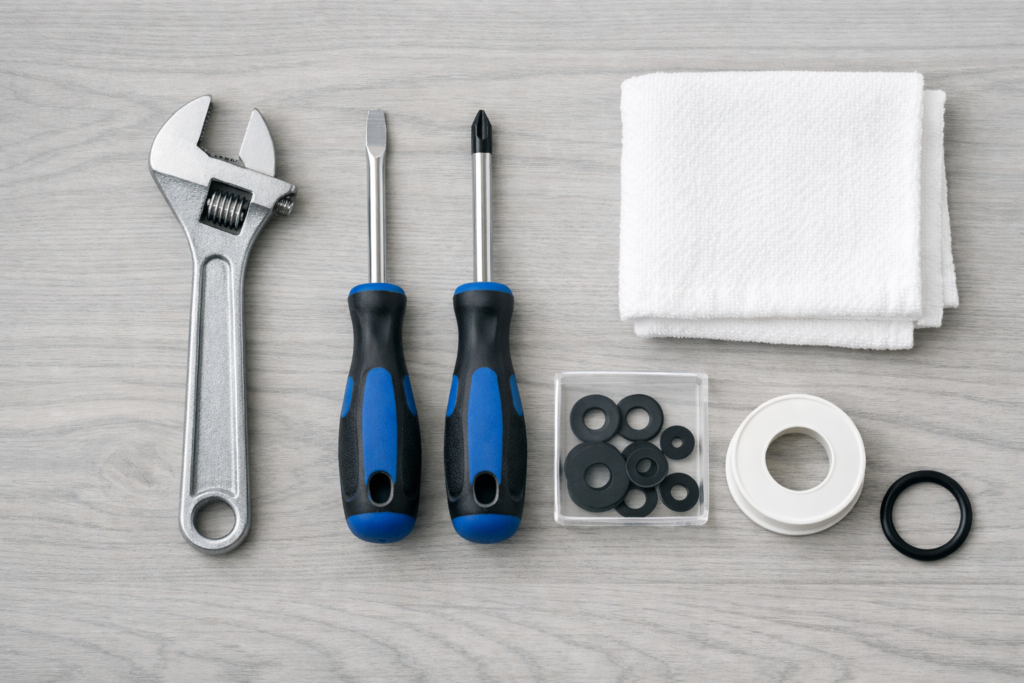
Tools You’ll Need
- Adjustable spanner or basin wrench
- Flathead and Phillips screwdrivers
- Replacement washer, O-ring, or cartridge (matched to your tap model)
- PTFE tape (plumber’s tape)
- A cloth or towel to plug the plughole and catch drips
- Silicone grease (optional, for smoother reassembly)
Step-by-Step: How to Stop a Leaking Tap
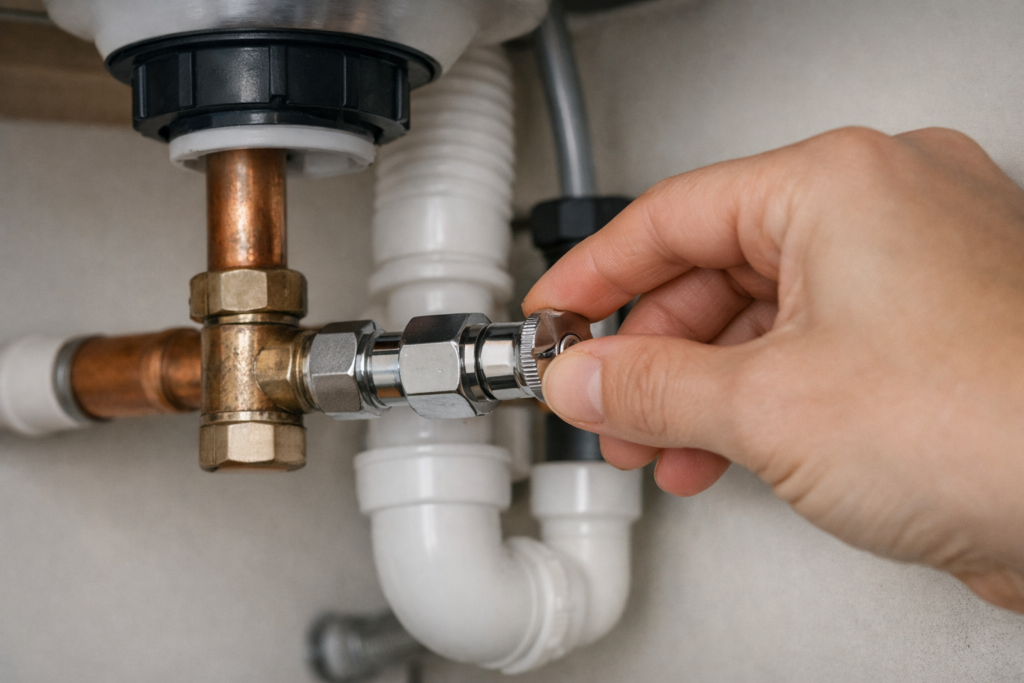
Step 1: Turn Off the Water Supply
Locate the isolation valve under the sink and turn it clockwise to shut off the water. If there’s no isolation valve, you’ll need to turn off the main stopcock, usually found under the kitchen sink or near the property’s water meter. Once off, open the tap to release any remaining pressure and plug the sink to stop small parts falling down the drain.
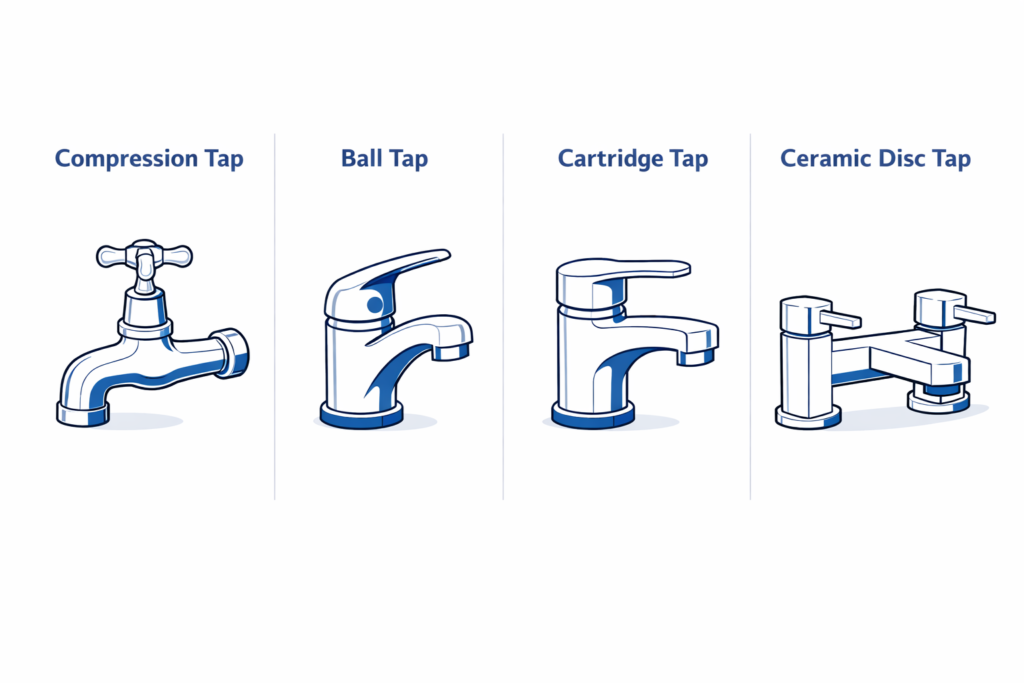
Step 2: Identify Your Tap Type
Taps generally fall into four categories, and the repair method differs slightly for each:
- Compression taps (traditional, with separate hot and cold handles) – usually a washer issue
- Ball taps (single lever, mixing hot and cold internally) – often need a new seal kit
- Cartridge taps (single or double handle, common in modern kitchens) – typically need a new cartridge
- Ceramic disc taps (smooth turn, minimal effort to open/close) – usually need a new ceramic cartridge
Step 3: Remove the Tap Handle
Most handles are held on by a small screw, sometimes hidden under a decorative cap marked ‘H’ or ‘C’. Pop off the cap with a flathead screwdriver, remove the screw, and gently lift the handle away.
Step 4: Access and Replace the Washer or Cartridge
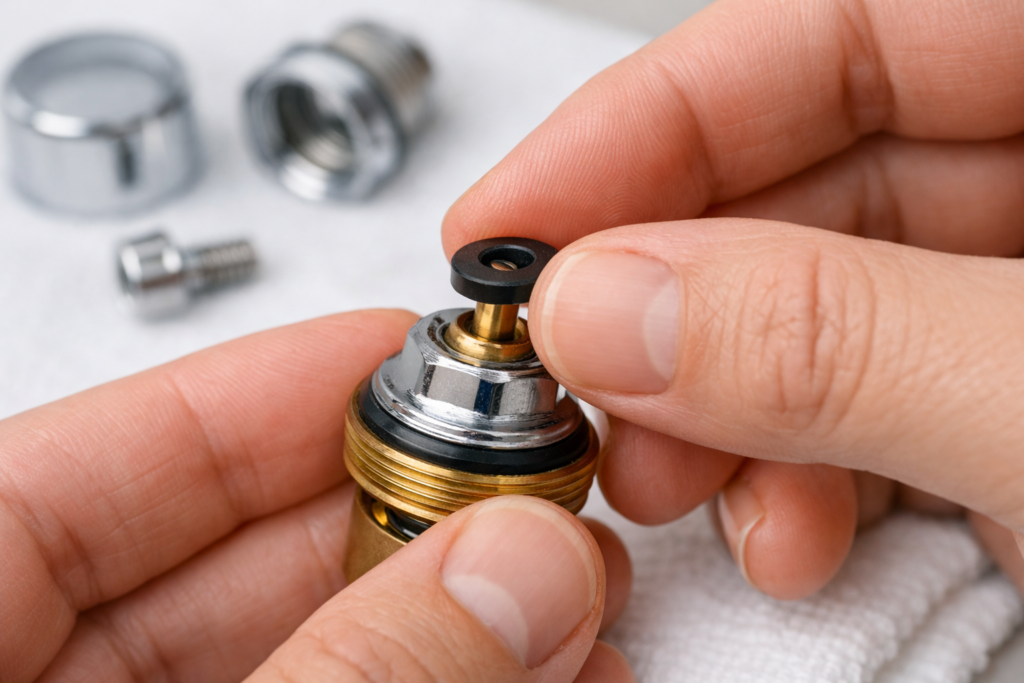
Unscrew the retaining nut with your spanner to expose the valve. For compression taps, unscrew the small screw holding the washer in place at the base of the spindle, and swap in a new washer of the same size. For cartridge or ceramic disc taps, lift out the whole cartridge and replace it with an identical part, since these usually can’t be repaired individually.
Step 5: Check the O-Ring
If water was leaking from around the handle rather than the spout, the O-ring is the likely cause. Slide off the old, worn ring and replace it with a new one of the same diameter. A light coating of silicone grease helps it seat properly and extends its lifespan.
Step 6: Reassemble the Tap
Wrap the threads of the retaining nut with PTFE tape for a tighter seal, then reassemble the tap in reverse order: nut, spindle, handle, screw, and decorative cap.
Step 7: Turn the Water Back On and Test
Slowly turn the isolation valve or stopcock back on and run the tap for a minute to clear any air or debris from the line. Check closely around the base and handle for any remaining drips. If the leak has stopped, you’ve fixed it. If it persists, the valve seat may be damaged and could need professional attention.
When to Call a Professional Plumber
A simple washer swap is a manageable DIY job for most people, but call in a qualified plumber if:
- The leak continues after replacing the washer, O-ring, or cartridge
- You notice water damage to cabinets, flooring, or ceilings below
- The tap is old, corroded, or the fittings won’t budge
- You’re unsure how to isolate the water supply safely
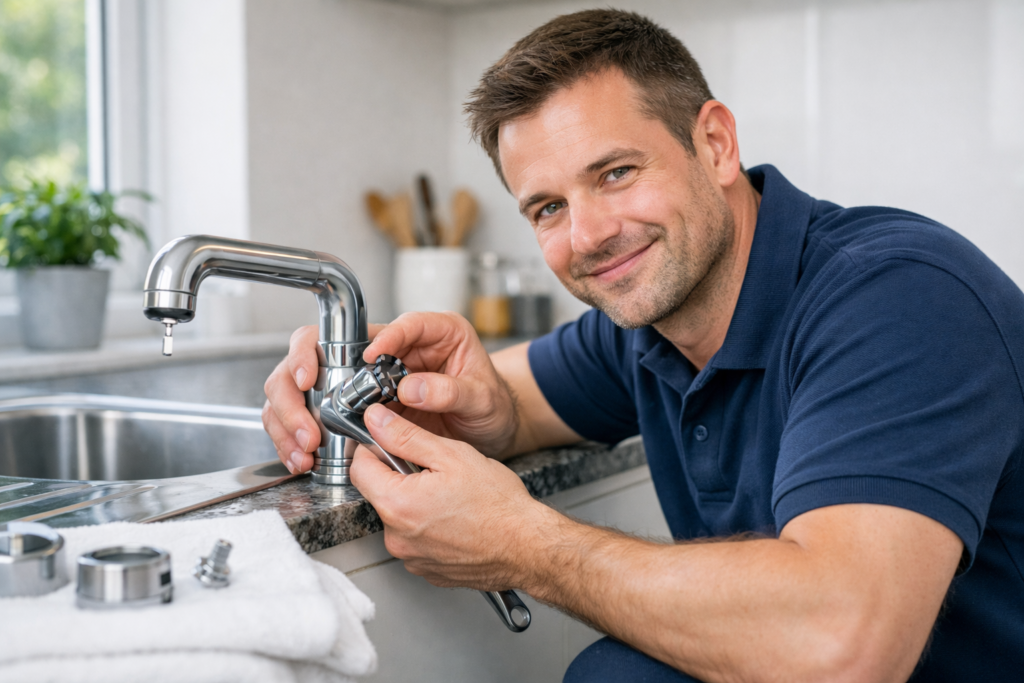
Our team offers dedicated tap and faucet repair services across London, and if the problem turns out to be a hidden pipe issue rather than the tap itself, our leak detection and repair specialists can pinpoint the source quickly using non-invasive methods.
Preventing Future Tap Leaks
- Avoid over-tightening taps when turning them off, as this wears washers out faster
- Have your home’s water pressure checked periodically, since excess pressure strains seals
- Replace washers and cartridges every few years as routine maintenance, even before they fail
- Consider an annual maintenance plan so small issues are caught before they become costly repairs
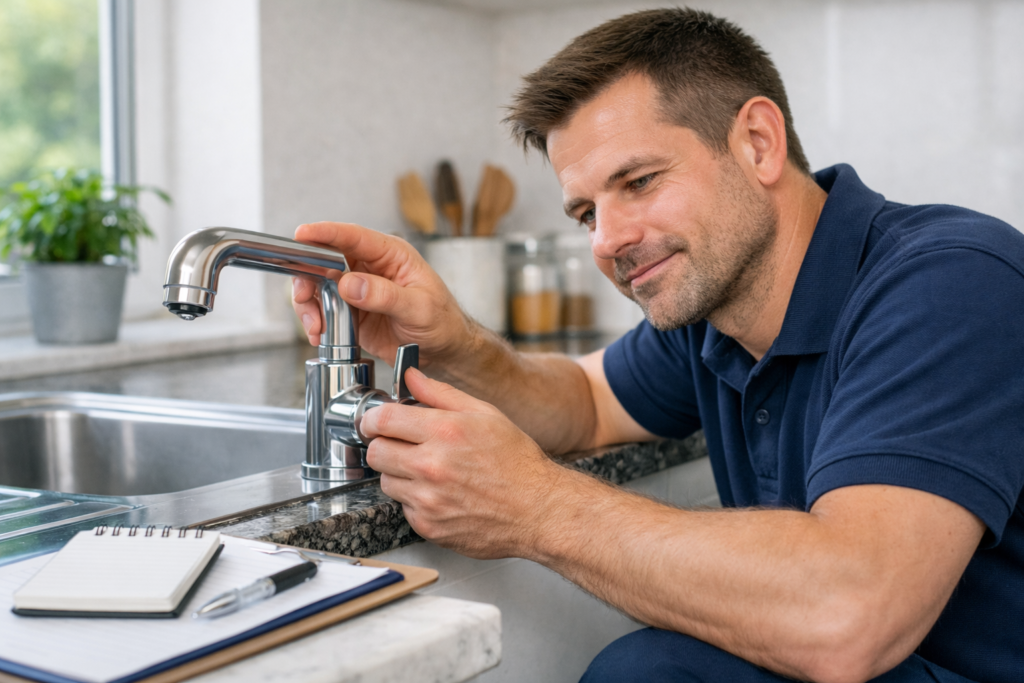
For homeowners who’d rather not think about it at all, our Residential Annual Maintenance Contracts include regular plumbing check-ups, so leaks like this are caught early.

Get Expert Help From Catalyst Home Services
Whether you’d like to try the DIY route or would prefer a qualified plumber to sort it in one visit, Catalyst Home Services is on hand across London. We offer transparent pricing, fast response times, and experienced professionals for every job, big or small. Book a plumber today or browse our blog for more home maintenance tips.