
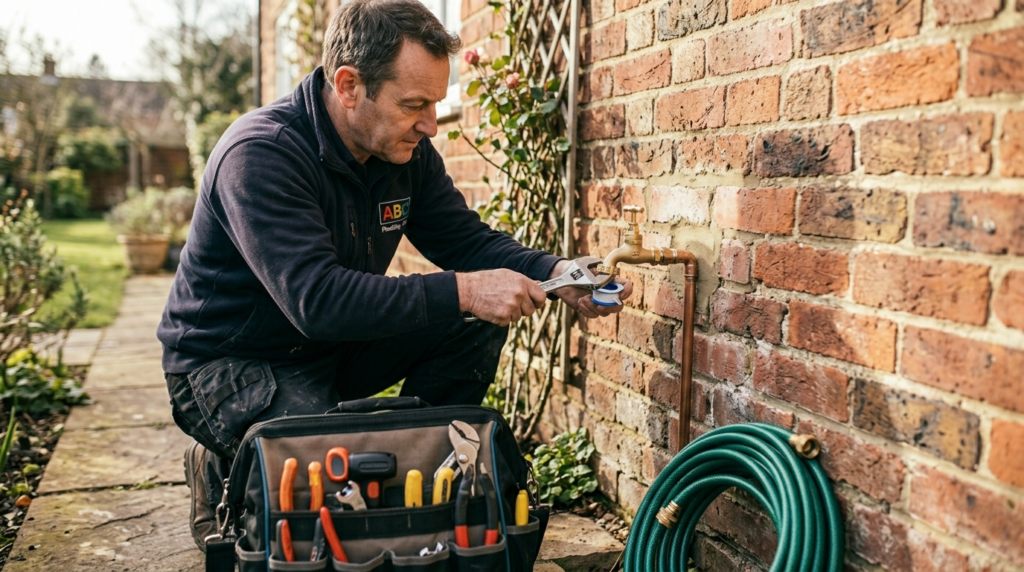
If you’ve ever lugged a watering can back and forth from the kitchen sink, or wrestled a hose through a window just to wash the car, you already know why an outside tap is one of the most useful upgrades you can make to a home. It sounds like a small job, but fitting an outside tap correctly involves several steps that, if skipped or rushed, can lead to leaks, frozen pipes, or even contaminated drinking water.
At Catalyst Home Services, our plumbers fit and repair outside taps across London every week, from quick garden tap installations to full outdoor plumbing setups for new builds. In this guide, we’ll walk you through exactly how the job is done, what it costs, the regulations you need to be aware of, and the most common mistakes homeowners make — so you can decide whether it’s a DIY job or one best left to a professional.
Why Fit an Outside Tap?
An outside tap (sometimes called a garden tap or outdoor spigot) gives you a direct water supply outside your home, without running a hose through a door or window. It’s useful for:
- Watering plants, lawns and hanging baskets
- Washing the car or bike
- Filling paddling pools or water butts
- Cleaning patios, decking and outdoor furniture
- Connecting a pressure washer
- Topping up a pond or attaching irrigation systems
It’s a small addition that makes a noticeable difference to everyday convenience, and it can even add a touch of value when it comes to selling your home.
How an Outside Tap Is Fitted: Step by Step
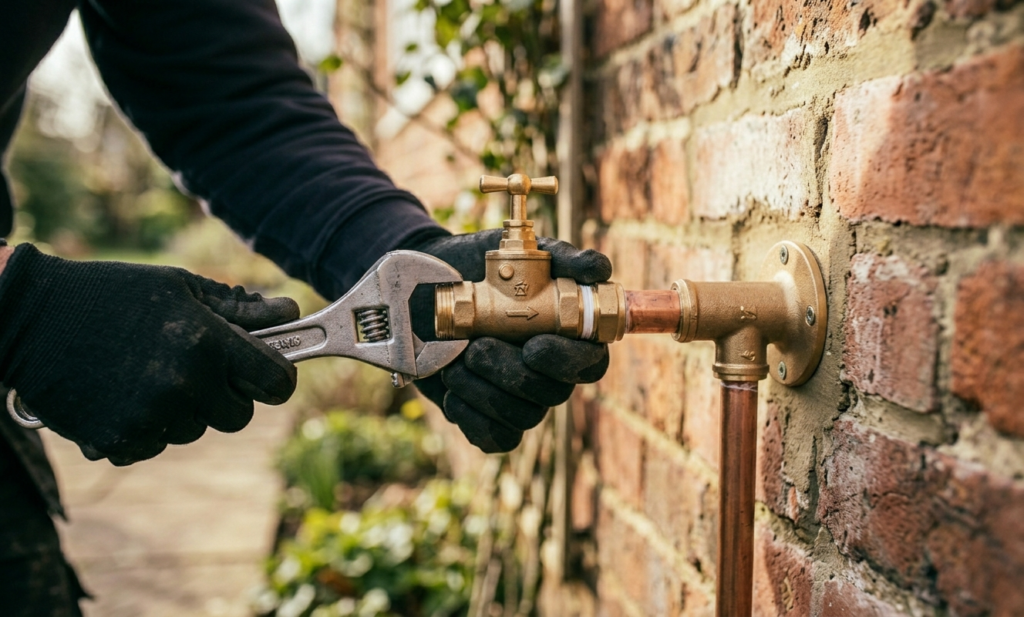
While every property is different, a typical outside tap installation follows this process:
1. Choosing the Location
The tap needs to be positioned where it can be connected to an internal water pipe with the shortest, most practical route through the wall. Most plumbers aim for somewhere near the kitchen, utility room or bathroom, since these rooms usually have the nearest pipework.
2. Identifying the Water Source
There are two common ways to supply an outside tap:
- Taking a branch off the rising main (cold water supply) — the most common method, giving good pressure for hoses.
- Connecting to a stored cold water tank — sometimes used in older properties with a tank-fed system, though pressure can be weaker.
A qualified plumber will check your existing pipework and water pressure before deciding the best connection point.
3. Fitting a Check Valve
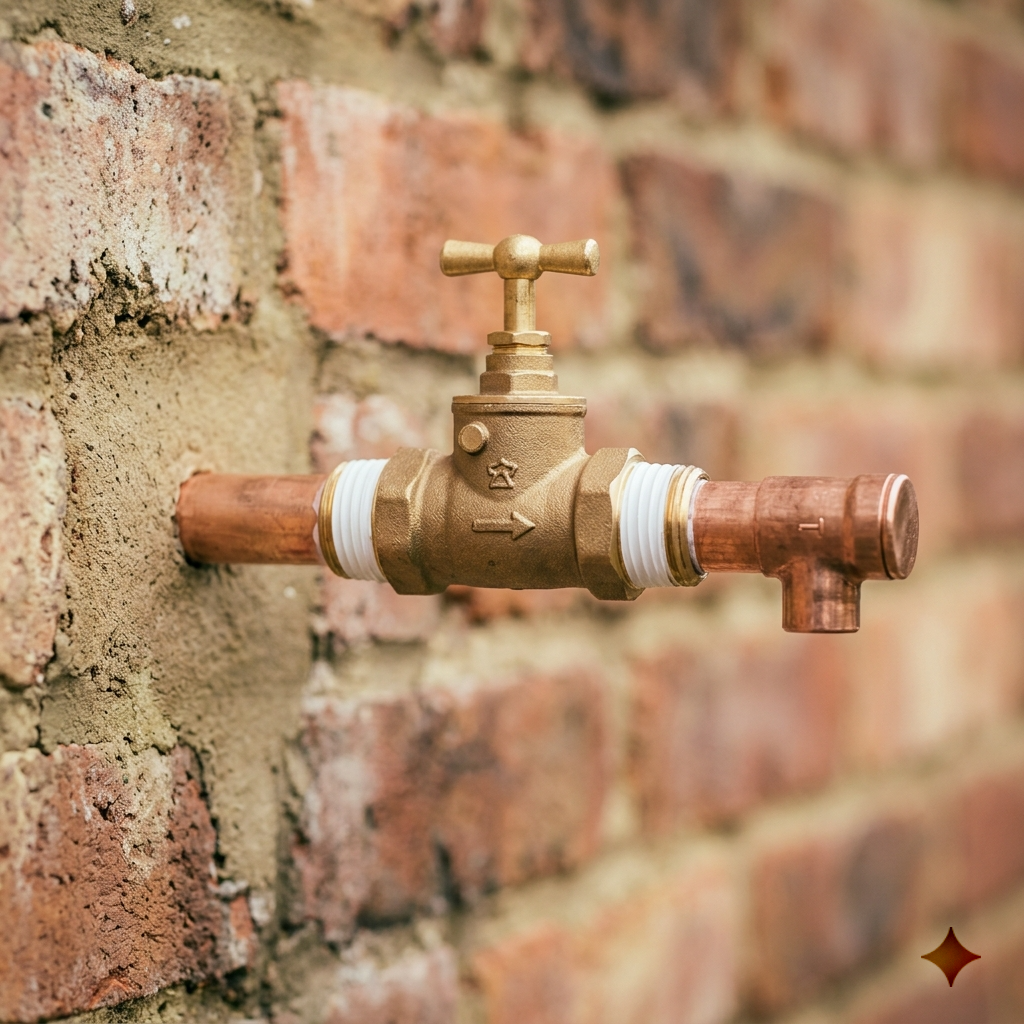
By law, any outside tap connected to the mains supply in the UK must have a double-check valve fitted. This is a non-negotiable requirement under the Water Supply (Water Fittings) Regulations 1999, and it exists to stop contaminated water, garden chemicals, or hose residue from being siphoned back into your home’s drinking water supply. This is one of the most overlooked steps in DIY installations — and one of the most important.
4. Running the Pipework
Once the connection point and valve are in place, a new pipe run (usually 15mm copper or plastic push-fit pipe) is taken from the internal supply, through an externally drilled hole in the wall, to the outside tap location.
5. Drilling and Sealing the Wall
A hole is carefully drilled through the exterior wall — angled slightly downward from the inside to the outside to prevent rainwater tracking back into the property. The hole is then properly sealed around the pipe with weatherproof sealant or a wall-sleeve to stop draughts and damp getting in.
6. Mounting the Tap
The outside tap is fitted to the wall using a wall plate elbow, which provides a secure, leak-free fixing point. The tap itself should be positioned at a sensible working height, away from drains or electrical points.
7. Testing and Insulating
Once connected, the system is tested under full pressure to check for leaks at every joint. The exposed external pipework is then lagged (insulated) to help protect it from freezing in cold weather — a step that’s especially important heading into a UK winter.
How Long Does It Take and What Does It Cost?
A straightforward outside tap installation typically takes 2–4 hours for a qualified plumber, assuming the pipe run is short and access is straightforward. Costs in London generally range from £120–£300, depending on:
- The distance from the existing pipework to the new tap
- Whether external walls are brick, render, or cavity construction
- Whether a stopcock or isolation valve needs adding
- Whether any existing pipework needs upgrading
If you’re not sure what your property needs, our team can give you a clear, no-obligation quote after a quick look at your plumbing setup. Get in touch with us and we’ll talk you through it.
Common Mistakes to Avoid
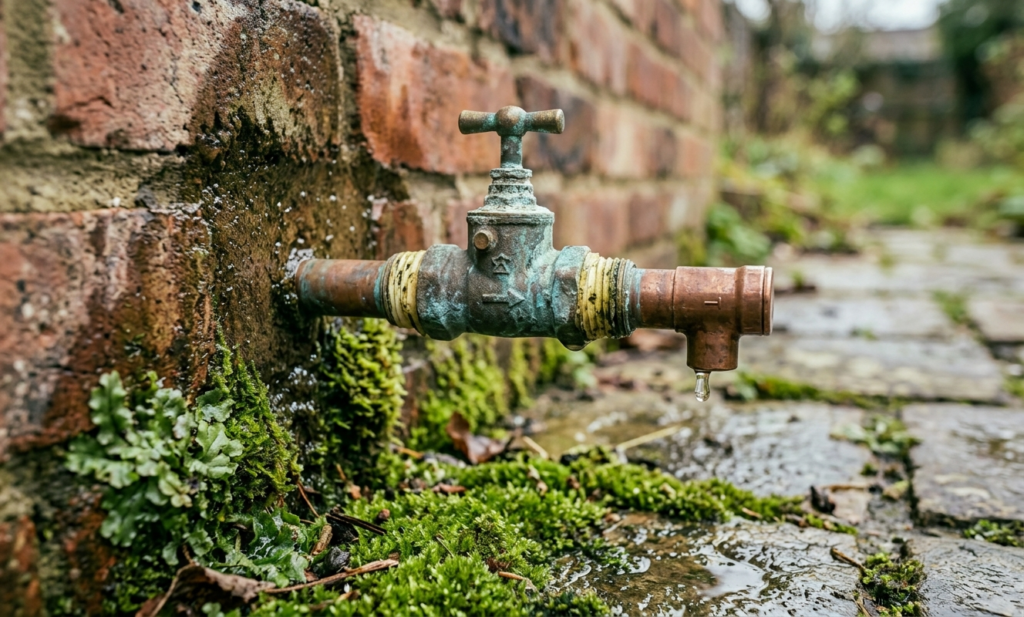
We’re regularly called out to fix outside taps that have been fitted incorrectly — usually by well-meaning DIYers or unqualified tradespeople. The most frequent issues we see include:
- No check valve fitted — a regulatory and health risk, not just a technicality.
- No isolation valve — meaning the whole house water supply has to be shut off just to fix or remove the tap.
- Poor wall sealing — leading to damp patches and draughts indoors.
- Pipework left uninsulated — resulting in burst pipes the first time temperatures drop below freezing.
- Incorrect pipe gradient — causing water to pool and freeze inside the pipe rather than draining away.
- Tap fitted too close to the ground or a flowerbed — making it awkward to use and prone to mud splashback.
If your existing outside tap is dripping, won’t shut off fully, or has stopped working altogether, it’s worth getting it looked at rather than ignoring it — small drips waste water and can be a sign of worn washers or a failing valve. Our tap and faucet repair service covers exactly this kind of issue.
Protecting Your Outside Tap in Winter
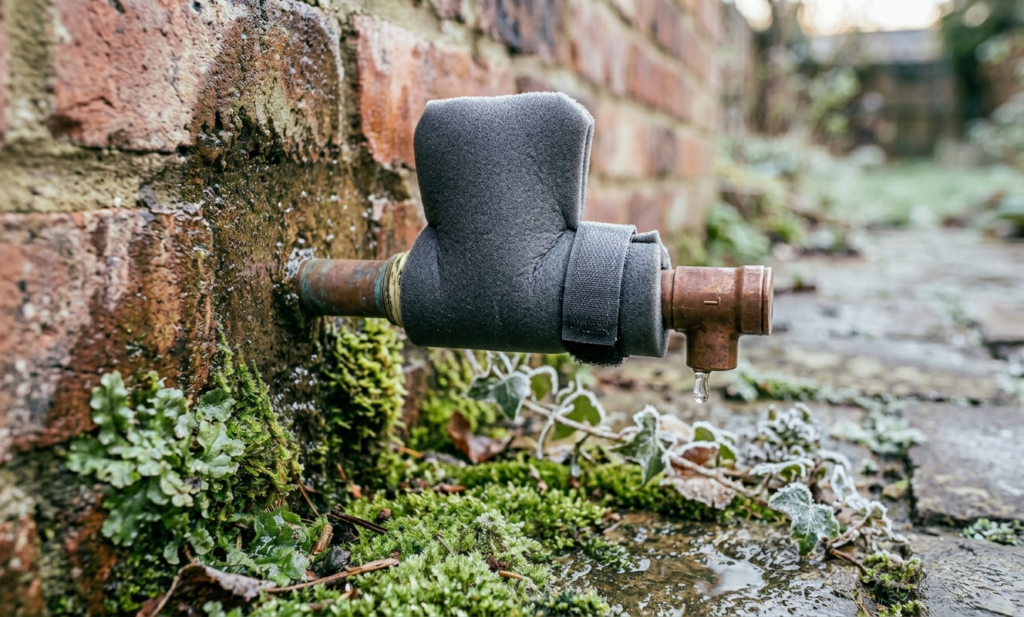
Outside taps and their pipework are particularly vulnerable to frost. Each autumn, it’s worth:
- Fitting an insulated outdoor tap cover
- Lagging any exposed pipe with foam pipe insulation
- Disconnecting hoses, which can trap water and cause pipes to crack
- Turning off the isolation valve and draining the tap if your home will be empty for long periods
A burst pipe from a frozen outside tap is one of the most common winter plumbing emergencies we deal with. If this happens to you, our 24/7 emergency plumbing line is on hand to limit the damage quickly. You can also read more about prevention and fixes in our burst pipe repair guide.
Can You Fit an Outside Tap Yourself?
Technically, yes — fitting an outside tap doesn’t legally require a Gas Safe or other specialist registration in the way gas work does. However, there are good reasons most homeowners choose to have it done professionally:
- Building Regulations compliance — the double-check valve and correct pipe routing aren’t optional extras; they’re legal requirements.
- Avoiding water pressure issues — an incorrectly sized pipe run can reduce pressure throughout your home. If you’ve noticed weak flow anywhere in your property already, it’s worth reading about common water pressure problems before adding another tap to the system.
- Insurance and resale — unregulated plumbing work can cause issues if you come to sell your home or make an insurance claim after a leak.
- Getting it right first time — drilling through an external wall isn’t something you want to redo because the angle was wrong or the seal failed.
For most households, the modest cost of a professional installation is well worth the peace of mind — particularly compared to the cost of repairing water damage from a poorly fitted tap later on.
Outside Taps for New Builds and Renovations
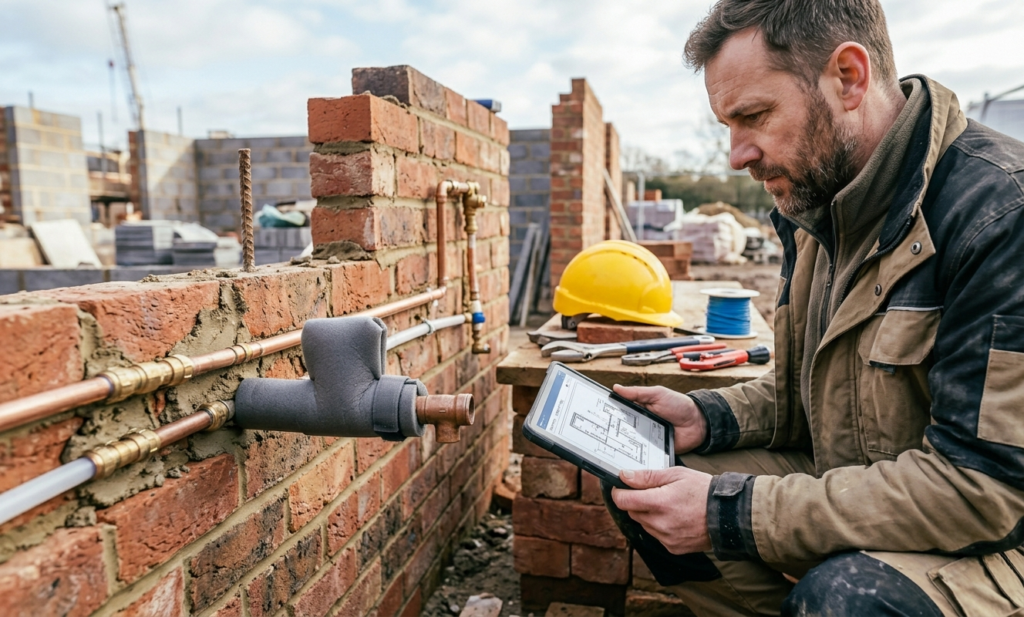
If you’re extending your home, renovating a garden, or building a new property, it’s far easier and cheaper to plan outside tap pipework in at the same time as your other plumbing, rather than retrofitting it later. Our new build plumbing service covers exactly this kind of planning, ensuring your outdoor water supply is positioned exactly where you’ll need it — whether that’s near a vegetable patch, a planned outdoor kitchen, or a future greenhouse.
Likewise, if you’re having a bathroom fitted or undertaking wider plumbing work, it’s worth asking your plumber to quote for an outside tap at the same time — sharing a visit often works out cheaper than booking a separate callout later.
Keeping Your Outside Tap in Good Condition
Once your outside tap is installed, a little routine maintenance goes a long way:
- Check the tap and surrounding wall seal for leaks every few months
- Replace worn washers as soon as you notice dripping
- Insulate before the first frost each year
- Avoid leaving a hose connected and pressurised for long periods
If you’d prefer not to think about it at all, our Residential Annual Maintenance Contracts include regular plumbing checks across your whole property, including outdoor fixtures like taps and outdoor drainage — so small issues get caught before they turn into expensive repairs.
Get Your Outside Tap Fitted Properly, First Time
Fitting an outside tap is a brilliant, low-cost way to make everyday garden and household tasks easier — but it’s a job that rewards being done properly. From choosing the right connection point to fitting the legally required check valve and protecting the pipework from frost, the details matter.
Catalyst Home Services has fitted, repaired and maintained outside taps for homeowners across North London for years, and we always carry out the work in line with UK water regulations, with clear, upfront pricing and no surprises.
Ready to get your outside tap installed? Book a plumber online or contact our team today for a free, no-obligation quote. You can also browse our full range of plumbing services or check out reviews from local customers to see why homeowners across London trust us with their plumbing.
FAQs
Do I need a special permit to fit an outside tap in the UK?
No formal permit is required, but the installation must comply with the Water Supply (Water Fittings) Regulations 1999, which includes fitting a double-check valve to prevent backflow contamination.
How much does it cost to install an outside tap in London?
Most straightforward installations cost between £120 and £300, depending on pipe run length, wall type, and whether additional valves are needed.
Can an outside tap be connected to a water butt instead of the mains?
Yes, though this provides non-drinking water only and is generally used for garden watering rather than general outdoor use.
Will fitting an outside tap reduce my water pressure indoors?
It shouldn’t, provided the pipework is sized and installed correctly. If you already experience low pressure, it’s worth having this checked before adding a new outlet.
What should I do if my outside tap freezes in winter?
Don’t use force on a frozen tap. Insulate it, allow it to thaw naturally, and check for leaks once it does. If a pipe has burst, turn off your isolation valve and call a plumber immediately.Share